How to assign a skin to a block
For each block you add, you will need to assign a skin, which we can define as his appearance layer.
Skins are built on HTML, CSS and JavaScript and they are fully customizable.
How to assign a skin to a new block
- From any page in the CMS, open the Blocks Panel located on the sidebar.
- Click on ‘ADD BLOCK’ right above the footer block and choose a block.
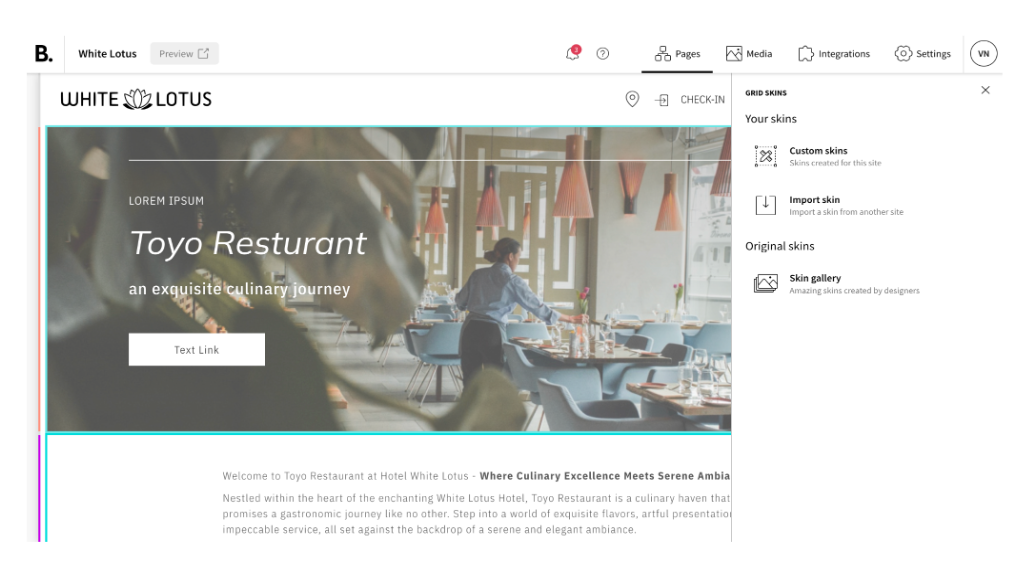
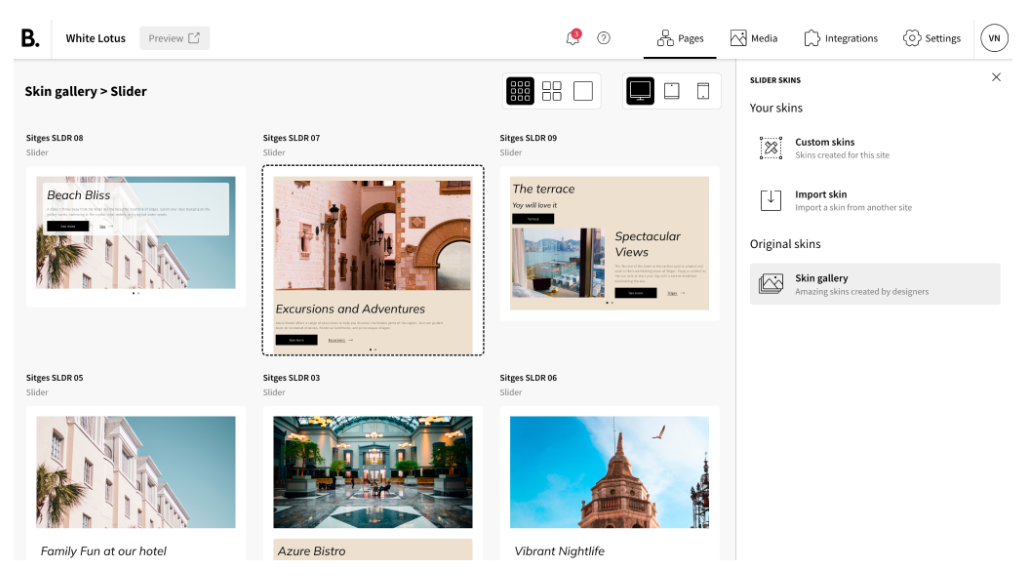
- You will be prompted to select a skin to apply to the block. You can choose from those you have previously created, import a skin from another website, or access our Skins Gallery where you will find many amazing skins created by designers.

- Explore the variety of skins presented in different formats and select the one that meet your specific requirements.

How to assign a skin to an existing block
- Access the page where the block you want to assign a different skin is found and open the Blocks Panel located in the sidebar.
- Click on the relevant block and go to 'Select another skin'.

- You can choose from those you have previously created, import a skin from another website, or access our Skin Gallery where you will find many amazing skins created by designers. Explore the variety of skins presented in different formats and select the one that meet your specific requirements.
If you have HTML and CSS knowledge, and you want to know more about skin development, please see 'How to create a skin'.
