How to create skins
Our CMS works with blocks of content, it means that every page is composed of blocks.
Each block is associated with a skin, which determines the visual presentation or design of the block. For every block, you can use skins from our gallery or modify the existing ones in order to create your owns.
How to create a skin
To create a new skin, you simply need to duplicate an existing one and then personalize it according to your preferences.
- From any page in the CMS, open the Page Blocks located on the sidebar.

- Select the block for which you would like to create the new skin design.
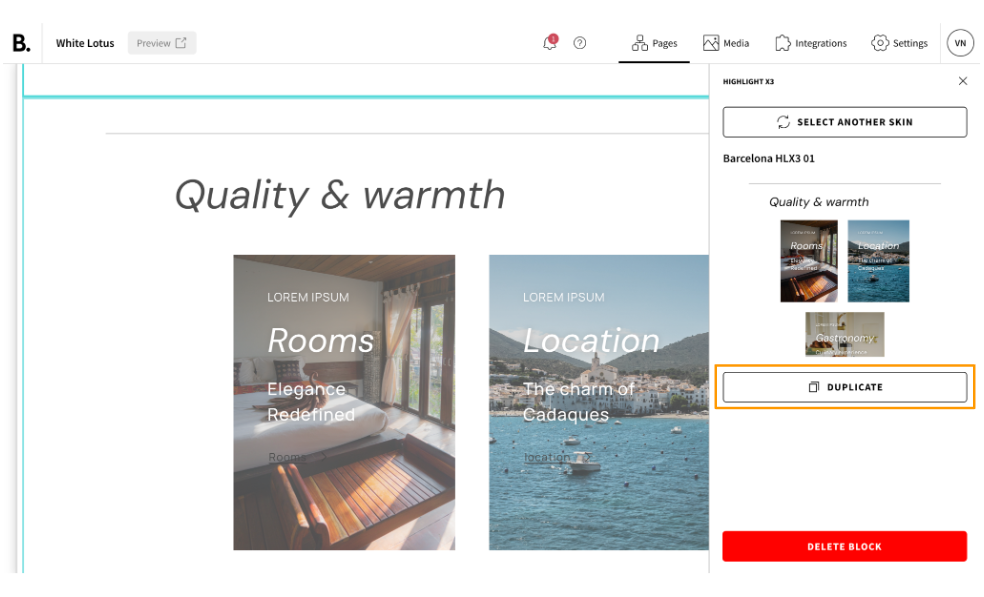
- Click on the button ‘DUPLICATE’ just under the skin preview.
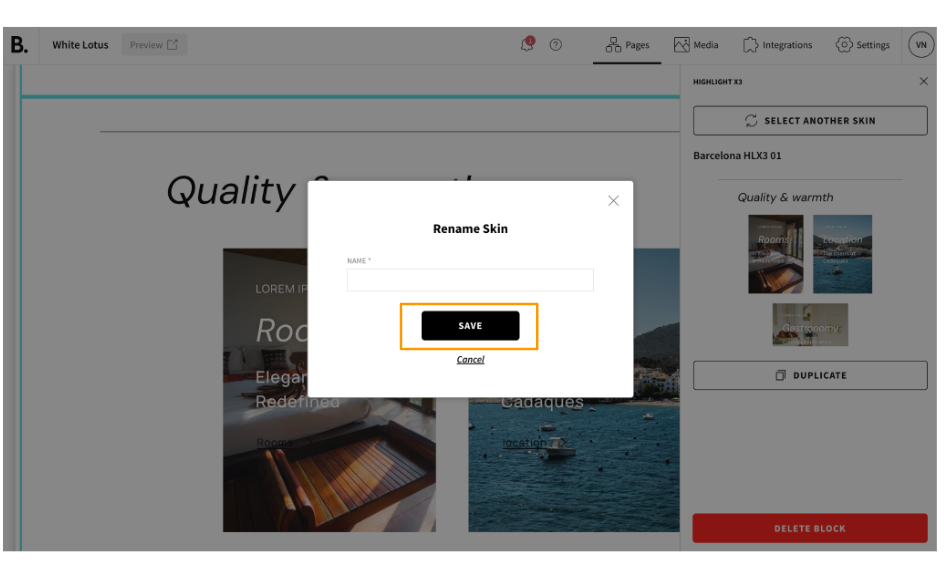
- A banner will appear asking you to give a name to the new skin. Chose a short but descriptive name that will help you recognize rapidly the skin in the future. Then click ‘SAVE’.
- The Front End Editor will open. You can use the HTML, CSS and JS sections to create the new skin.
How to use the Front End Editor
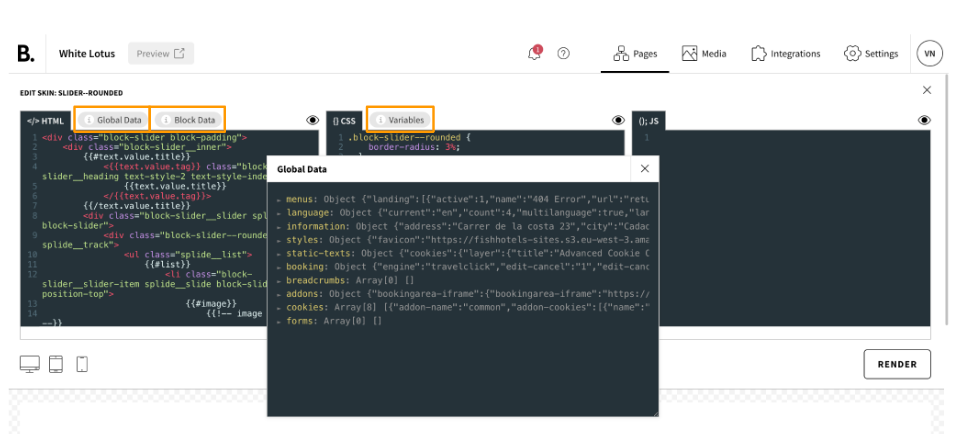
Our Front End Editor provides you with a familiar and intuitive interface, similar to platforms like CodePen, where you can freely experiment and create dynamic web content. The panel is divided into three sections: HTML, CSS, and JS, allowing you to write and preview code in real time.
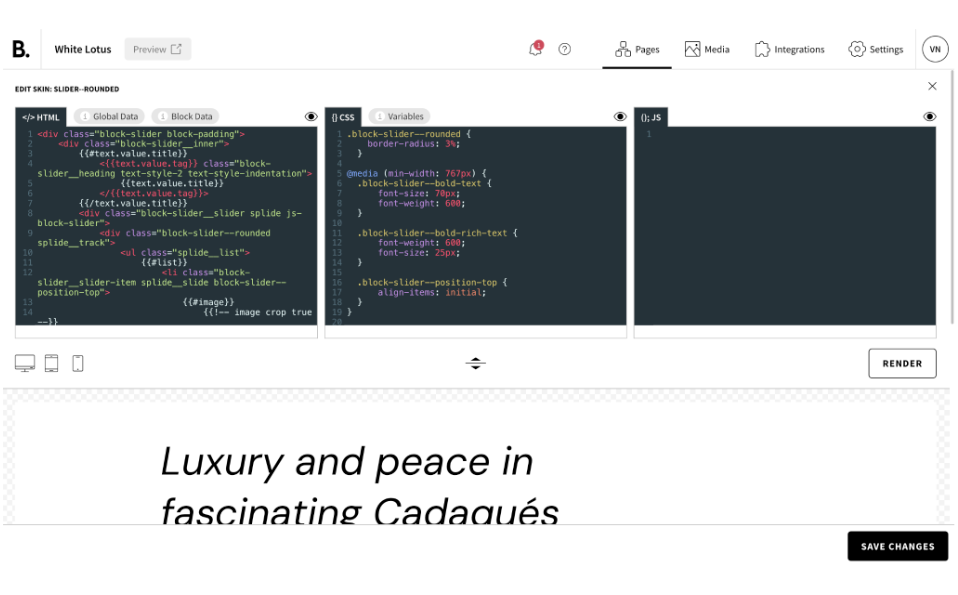
You can preview the skin you are creating in desktop, tablet and mobile versions.
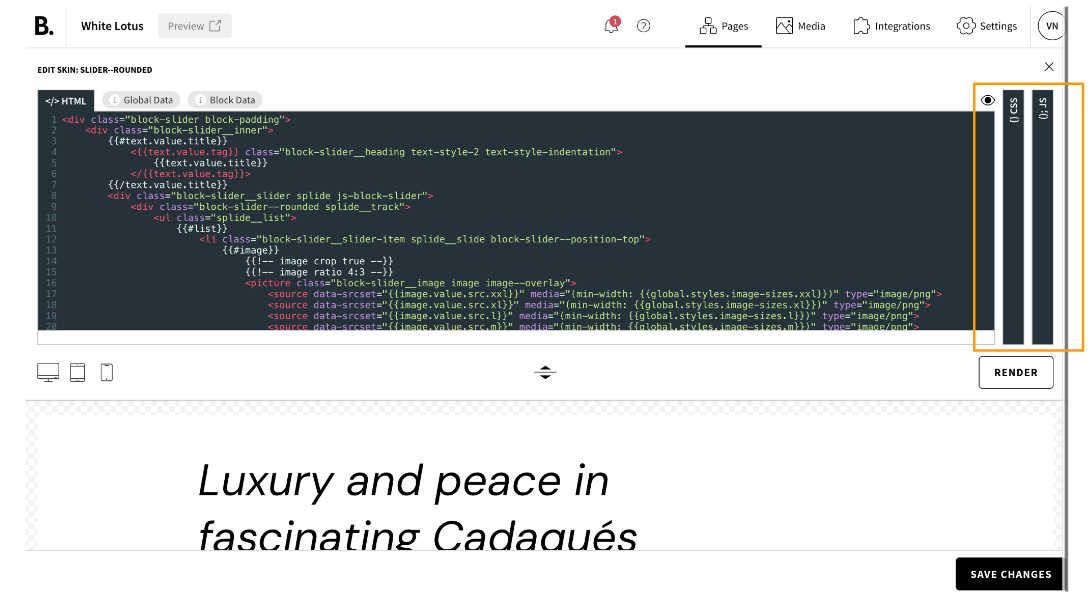
In each panel section (HTML, CSS, JS), in the top right-hand corner, there is an eye symbol. By clicking on it, you can hide the section you do not need at the moment, to enlarge the space of the section you are working in. This will make your work much more comfortable!
When editing a skin with the Front End Editor, you have access to:
- Global Data (hotel name, hotel address, navigation, languages…)
- Block Data (elements in the block)
- Global CSS variables (access to the site colors and fonts)
Preview
When you click on ‘Render’, the preview panel will update in real time to show you how your changes affect the webpage's appearance and behavior.
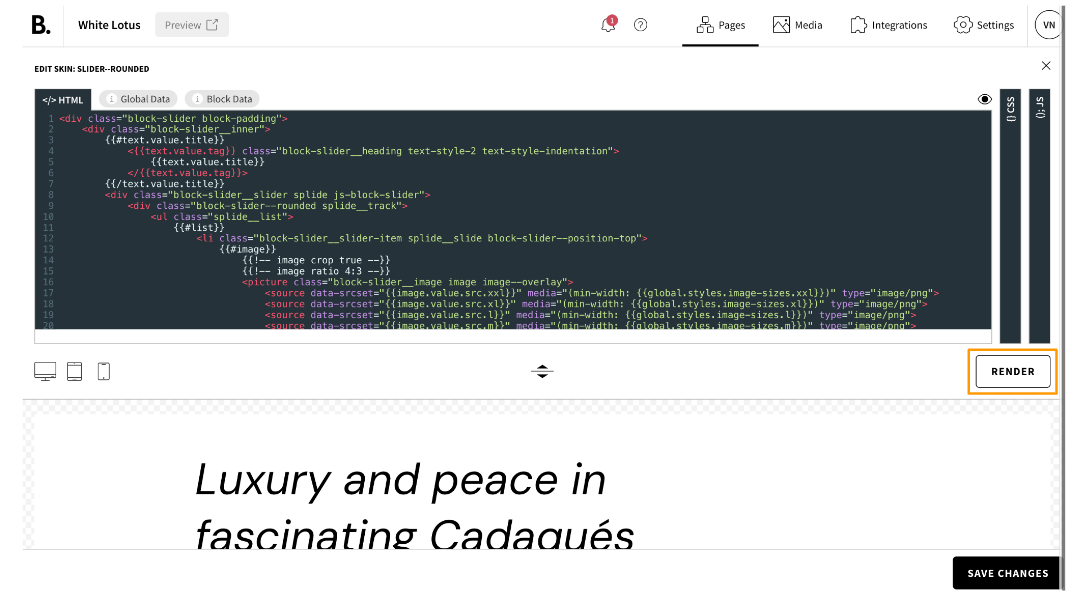
Don’t forget to click ‘SAVE CHANGES’ when your skin is ready!
Related articles
